|
Using Comparison Method to Solve
Electronic Repair Problems
Many
times I solved lots of electronic repair problems by using the
comparison method. So what is comparison method? Comparison method
means that you compare two identical equipment circuits in terms of
measuring resistance; signal and voltage test and see if there is
any different in result. If you get different result meaning the
circuit or components under test is at fault. Thus, with the right
information you had gathered, the chances for you to repair the
equipment is very high.
If a
repair technician or engineer use this comparison method, it is
usually means that they are facing difficulty in finding the
original part number of certain electronic components (may be due
to from a burnt circuit), no schematic diagram available, do not
understand how a new circuit works, missing components (taken out
by some irresponsible electronic repairers), want to solve
electronic problem fast and etc.
I
personally do not always use this method unless I had confirmed
that all the electronic components in a certain circuit or area
were tested good and still not be able to find the faulty parts.
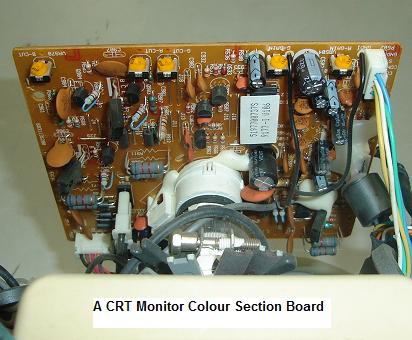
Let’s put this as an example, a Monitor came in with blue colour
missing. This problem normally lies in the CRT blue colour circuit.
It could be a bended blue signal pin at VGA connector, a broken
signal wire in the VGA cable, dry joints in the blue circuit,
defective components in blue circuit, faulty CRT socket or even a
bad PC Tube. And also we assumed that the EEprom IC data is in good
order (for your information, a corrupted EEprom data can cause
missing colour too).
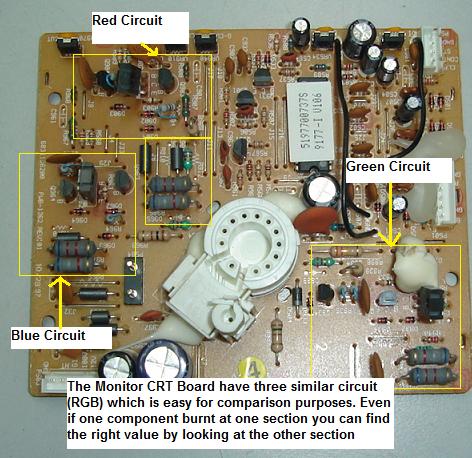
If I
have tested all the components that are related to blue circuit and
still could not find the fault, I have no choice other than to use
the comparison method. Comparison method not only has helped me to
locate the fault, it also speed up and save my troubleshooting
time. Some faults were really beyond your understanding as an
electronic repairer such as intermittent tiny hairline cracked in
the circuit; inexperienced tech installed a transistor in the other
way round, tiny solder bridge across components legs and
etc.
With
the caused I have just mentioned above, if without using the
comparison method, you may get frustrated and many troubleshooting
hours are lost and at the end of the day the equipment still can’t
be repaired or worst if the customer want it back urgently. The
pressure is on you and I hope with this article at least it will
lighten up your burden. There are four types of comparison methods
you can use to repair the electronic problems.
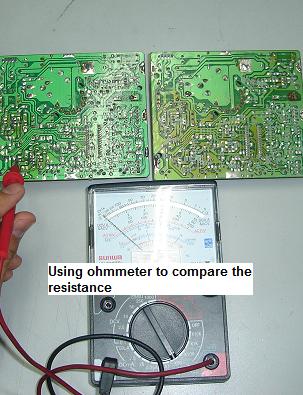
The
first method is to use Ohmmeter (preferably analogue meter as I
found it more accurate than the digital meter) to compare the
resistance between the two identical circuit. Power have to be off
and if the circuit you want to compare have some big capacitors, I
guess you have to discharge it before you do any comparison as the
extra voltage in the filter capacitor can cause a misleading
information (different result with the board you are comparing) and
you thought that you have found the faulty section. Set your
analogue meter to X 1 Ohm and start comparing between point to
point of each electronic component. Certain electronic circuit will
only have response when you set your meter scale to higher range
such as X 10 or even X 100. If the results you get have some
differences then put your attention upon the circuit or component
you are checking. Who knows you might have found the
solution.
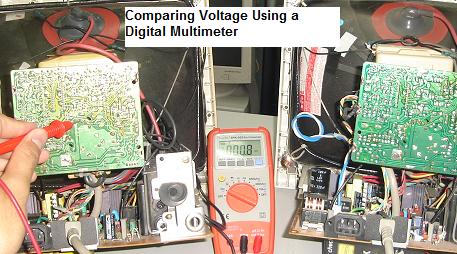
Second method is to compare voltage using a digital meter. I do
not encourage using analogue meter as I found it not really precise
as certain circuit even have a volt different the circuit may not
functioning well. Be extra careful when doing the voltage
comparison test as the power is “On”. Any slip from the test probe
and touch on other components may cause a heavy spark (if you are
comparing the supply line) or even the equipment will totally shut
itself down. If you are not careful, you may end up create more
problems than you can solve. Concentration and know what you are
measuring (comparing) is the key of success in voltage
testing.
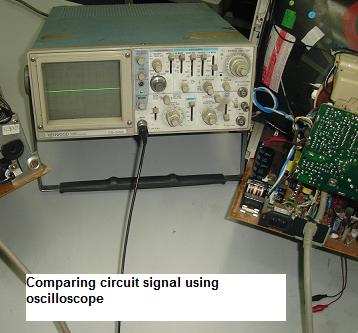
Third, you can use an oscilloscope to compare the signal
between the electronic equipment. You will be surprise that I found
lots of electronic problems solution by comparing the signals. This
method is exactly the same with the voltage comparison method
except that you are now looking at signal and not on digital meter.
Be extra careful too when comparing the board with oscilloscope as
the equipment has to be “On”. Get some books on how to use
oscilloscope as in the long run it really benefits
you.
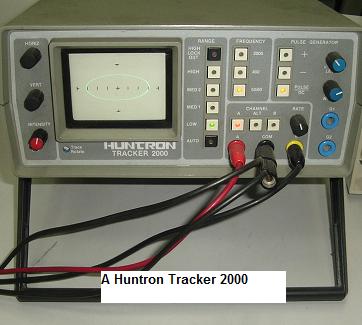
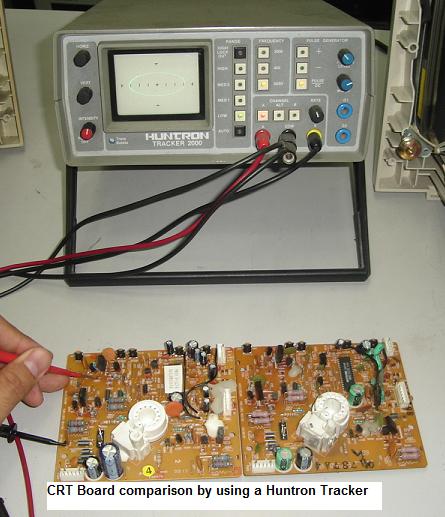
The fourth method is to use
Analog Signature Analysis to compare the boards without power “ON”.
I’m using Huntron tracker 2000 to do the job. This test equipment
applies a current-limited AC sine wave across two points of an
electronic component or circuit under test. The resulting
current/voltage waveform is shown on a signature display using
vertical deflection for current and horizontal deflection for
voltage. This unique Tracker signature represents the overall
health of the part being analyzed. By comparing the signatures of
known good circuit boards to those of suspect boards, faulty nets
and components can be quickly identified. You can get or bid for a
used Huntron Tracker at Ebay dot com if you have lots of similar
electronic boards for repair.
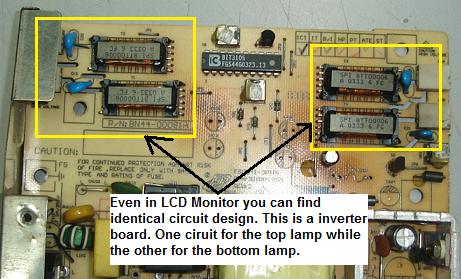
What if I could not locate or do
not have the same equipment or model for comparison? If you have
read my previous post I always mentioned about the emphasis on
friendship among electronic repairer. You just can’t be a lone
electronic repairer; you HAVE to mix around if you want to be
successful in this repair line. I will call my electronic repair
friends to check out if they have any same model of equipment and
if they have, I will ask them to “lend” one for me and will return
it back as soon as possible. Assuming I do not have or can’t get
from my repair friends, I will tell my customers to hold on for few
more days hope there will be a similar equipment send for repair.
Many times after waiting just for couples of days, yes the same
equipment came for repair sent by other
customers.
If everything I have tried and
still no way to solve the problem, I will just let the customer
know. Usually they will accept my explanation and some of it would
send to the supplier for repair of course with a higher
charge.
Conclusion- In electronic repair
one must have the flexibility on how to solve a problem. There are
no certain ways to solve it as electronic problems are quite
dynamic. You have to use the best method to encounter different
problems in electronic. If possible invest in the test equipment
that can really speed up your troubleshooting
job.
|