Introduction to Optocoupler Ic application, testing, schematic and functions.
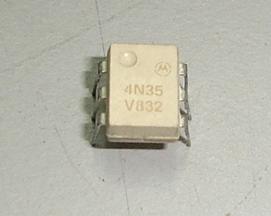
A Motorola 4N35 Optocoupler A lot of electronic equipment nowadays are using optocoupler in the circuit. An optocoupler or sometimes refer to as optoisolator allows two circuits to exchange signals yet remain electrically isolated. This is usually accomplished by using light to relay the signal. The standard optocoupler circuits design uses a LED shining on a phototransistor-usually it is a npn transistor and not pnp. The signal is applied to the LED, which then shines on the transistor in the ic.
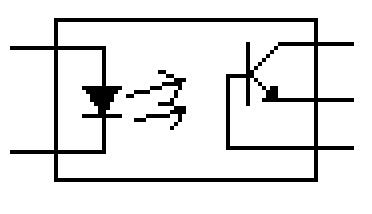
The light is proportional to the signal, so the signal is thus transferred to the phototransistor. Optocouplers may also comes in few module such as the SCR, photodiodes, TRIAC of other semiconductor switch as an output, and incandescent lamps, neon bulbs or other light source. I also came across two led and two phototransistors in a package in the power supply of a NEC printer. In this article i will explain only the most commonly used opto coupler which is the combination of LED and phototransistor. See the optocoupler ic schematic diagram below:
An Optocoupler Symbol or Schematic
The optocoupler usually found in switch mode power supply circuit in many electronic equipment. It is connected in between the primary and secondary section of power supplies. The optocoupler application or function in the circuit is to:
To check the phototransistor, set your meter to times 1 ohm range and place your black probe to the base of the transistor and the red probe to collector and emmiter. It should show 2 similar readings. Then move your black probe to collector and red probe to base and emmiter of the transistor. It should not register any reading. The last step is to place your black probe to emmiter and the red probe to base and collector of the transistor. Again it should not register any reading in the multimeter.
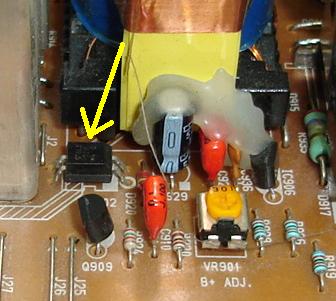
An Optoisolator in Electronic Board
If you want to know more about the internal diagram of any optocoupler ic, I recommend that you check from the Philip ECG semiconductor master replacement guide book for the correct datasheet. From the schematic it is easier to describe whether it is a phototransistor, photodiode, scr or triac type at the output of the optocoupler ic. Once you know which type of components inside the ic then you can use the necessary testing method to apply to the ic.
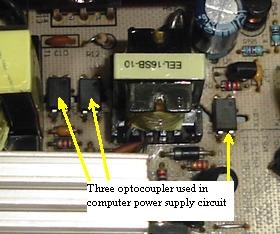
Optoisolator In Power Supply
|
|
Copyright@ 2006-2014-www.ElectronicRepairGuide.com All Rights Reserved
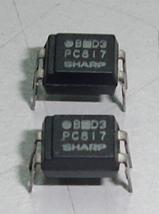 Many technicians and
engineers do not know that they can actually test the optocoupler
with their analog multimeter. Most of them thought that there is no
way of testing an ic with an analog meter.. Since
we already knew the optocoupler pinout from the schematic diagram,
testing this ic is just the same as measuring a normal bipolar
transistor and LED.